Piano and grand piano repair and restoration
Do you own an older piano? It may then be necessary to have it fully or partially overhauled. The condition of a piano gradually deteriorates over time. After around 50 to 70 years of playing, it is usually necessary to carry out a full overhaul. However, it may also be advisable to have your piano partially overhauled at an earlier stage. By arranging an appointment with our piano technician, it can be determined what work is required to ensure your piano plays and sounds at its best.
Our technical department
Joh. de Heer Musical Instruments has its own piano repair and restoration department. In our workshop, we are able to carry out a wide range of repairs on your instrument. Your repair or overhaul is carried out with the utmost care and comes with a 3-month warranty.
How does it work?
You can contact our piano technician directly via info@johdeheer.nl or by telephone on +31 184 419611. Of course, you can also reach us via our contact form. A member of the Joh. de Heer team will then arrange an appointment to visit you at home to inspect the piano. This is completely without obligation and free of charge. Following this appointment, a quotation will be provided. If you agree to the quotation, it will be necessary for the piano action or the complete instrument to be brought to our workshop for the work to be carried out.
Overhaul of a piano or grand piano
The overhaul of a piano or grand piano may include the following work:
- Replacement of hammer heads
- Repair or replacement of key coverings
- Soundboard repair
- Restringing
- Regulation
- Voicing
- Minor lacquer damage repairs
- Sanding of hammer heads
- Complete piano refinishing
.jpg) Repair or replacement of key coverings
Repair or replacement of key coverings
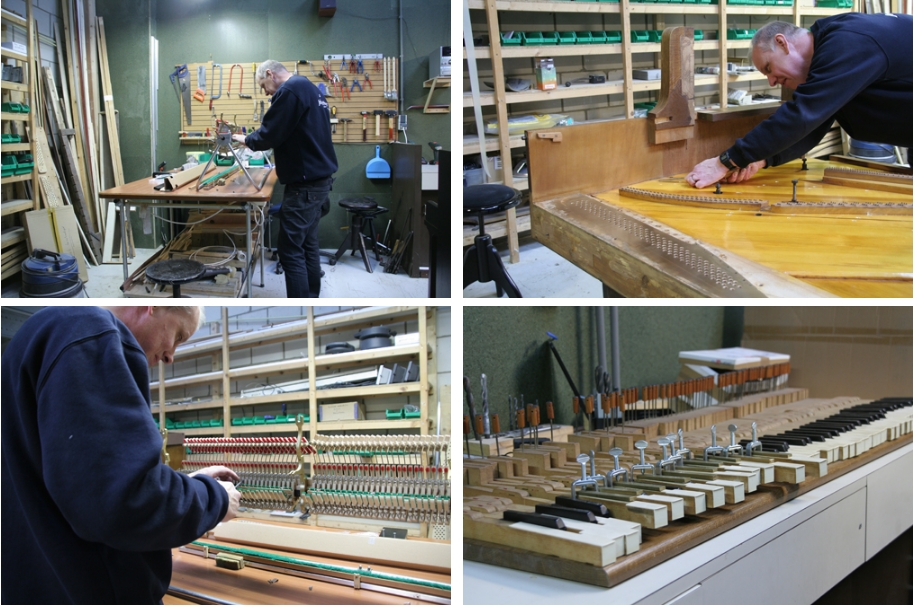
The keyboard of your piano or grand piano can be restored to a like-new appearance by repairing the key coverings. In the photo on the right, you can see the different stages of refurbishing the keys. The right-hand key is untreated. The middle key has been sanded. The final result is the left-hand key, which has been sanded and polished by one of our colleagues.
Soundboard repair
Below is an overview of the soundboard restoration process. The first image shows an untreated soundboard with a crack (visible in image 2). The third image shows the insertion of wedges into the soundboard, followed by the fourth image, where the result is visible before lacquer has been applied. In the fifth image, the soundboard has been finished with lacquer. In image 6, you can see that the crack has been fully repaired.
.jpg)